October 29, 2011

Spider Rings!


Happy Halloween, everyone!
This year I was invited to a handful of parties, but only decided to go to my Aunts 40th surprise party Friday, and help out with my best friend Christy's party at her new house Saturday! I decided to make mini cupcakes with the Halloween themed Better Crocker cake mix. It was perfect and on sale at walmart. I found the spider rings and spider mini cupcake cups at the dollar store! I made the cakes Thursday night and was planning on decorating them Saturday morning before Christy's party, but was not expected the famous October Blizzard of 2011. I had to make due with what I had, because there were no cans of frosting anywhere in my house. I pulled out my mom's old Betty Crocker cook book and found this recipe for Chocolate Sour Cream Icing.

Chocolate Sour Cream Frosting
5 1/3 tbs butter
3 cups confectioners' sugar
1 teaspoon vanilla extract
3 squares melted unsweetened chocolate
1/2 sour cream

Melt chocolate squares as it says in the directions.
Beat butter and melted chocolate squares.
Slowly add in the confection sugar.
Add the vanilla extract and sour cream.
Mix until creamy.
Store in fridge until ready to frost.
Best part: Decorate!


I separated the frosting batter into two, dyed one orange, the other black-ish. I think they turned out more gray and pumpkiny colored but you'll get the idea. Sadly, I wasn't able to attend Christy's party due to the road/snow conditions, but I will be saving them to take them up to her house later this week. I also have extra to bring into work!

Enjoy!
xo


August 22, 2011

Tie Dye Cake

Alright, people! I know this is wayyyyyyyyyyyy late but I finally have the time and productivity to finally blog about my tie dye cake that I made for the WCB Luau. I’ve seen this recipe before (http://www.omnomicon.com/rainbowcake) and I couldn’t wait to find the best time to make it. And what better time than a colorful Luau party on the beach?

Tie Dye Cake


-          Cake Mix (white or yellow)
-          Oil (or apple sauce), Eggs,  Water 
-          Food dye (4+ colors)
-          Toothpicks
-          Bowls
-          Icing (vanilla or cream cheese)
-          Cake pan
-          Pam or shortening
-          4 color mixing bowls with 4 spoons

I can’t think of anything else but the pictures should be informative enough. I hope… One quick note would be that I substitute equal parts oil for apple sauce. Also, I made my own homemade cream cheese icning.. I'm not gonna go into detail on what it involves because that's not the point of this post so if you want to make you're own go here - http://allrecipes.com/Recipe/cream-cheese-frosting-ii-2/detail.aspx

I used two 8in round pans for my cake. I figured I would just stack them instead of trying to fit the batter in a rectangular pan and the tie dye pattern might not turn out right. I hope that makes sense. So anyway, I took the 2 8in pans and sprayed them with pam. I love pam... it makes my life so much easier and I dont have to worry about spreading NASTY shortening.


I then started to mix the cake batter. 


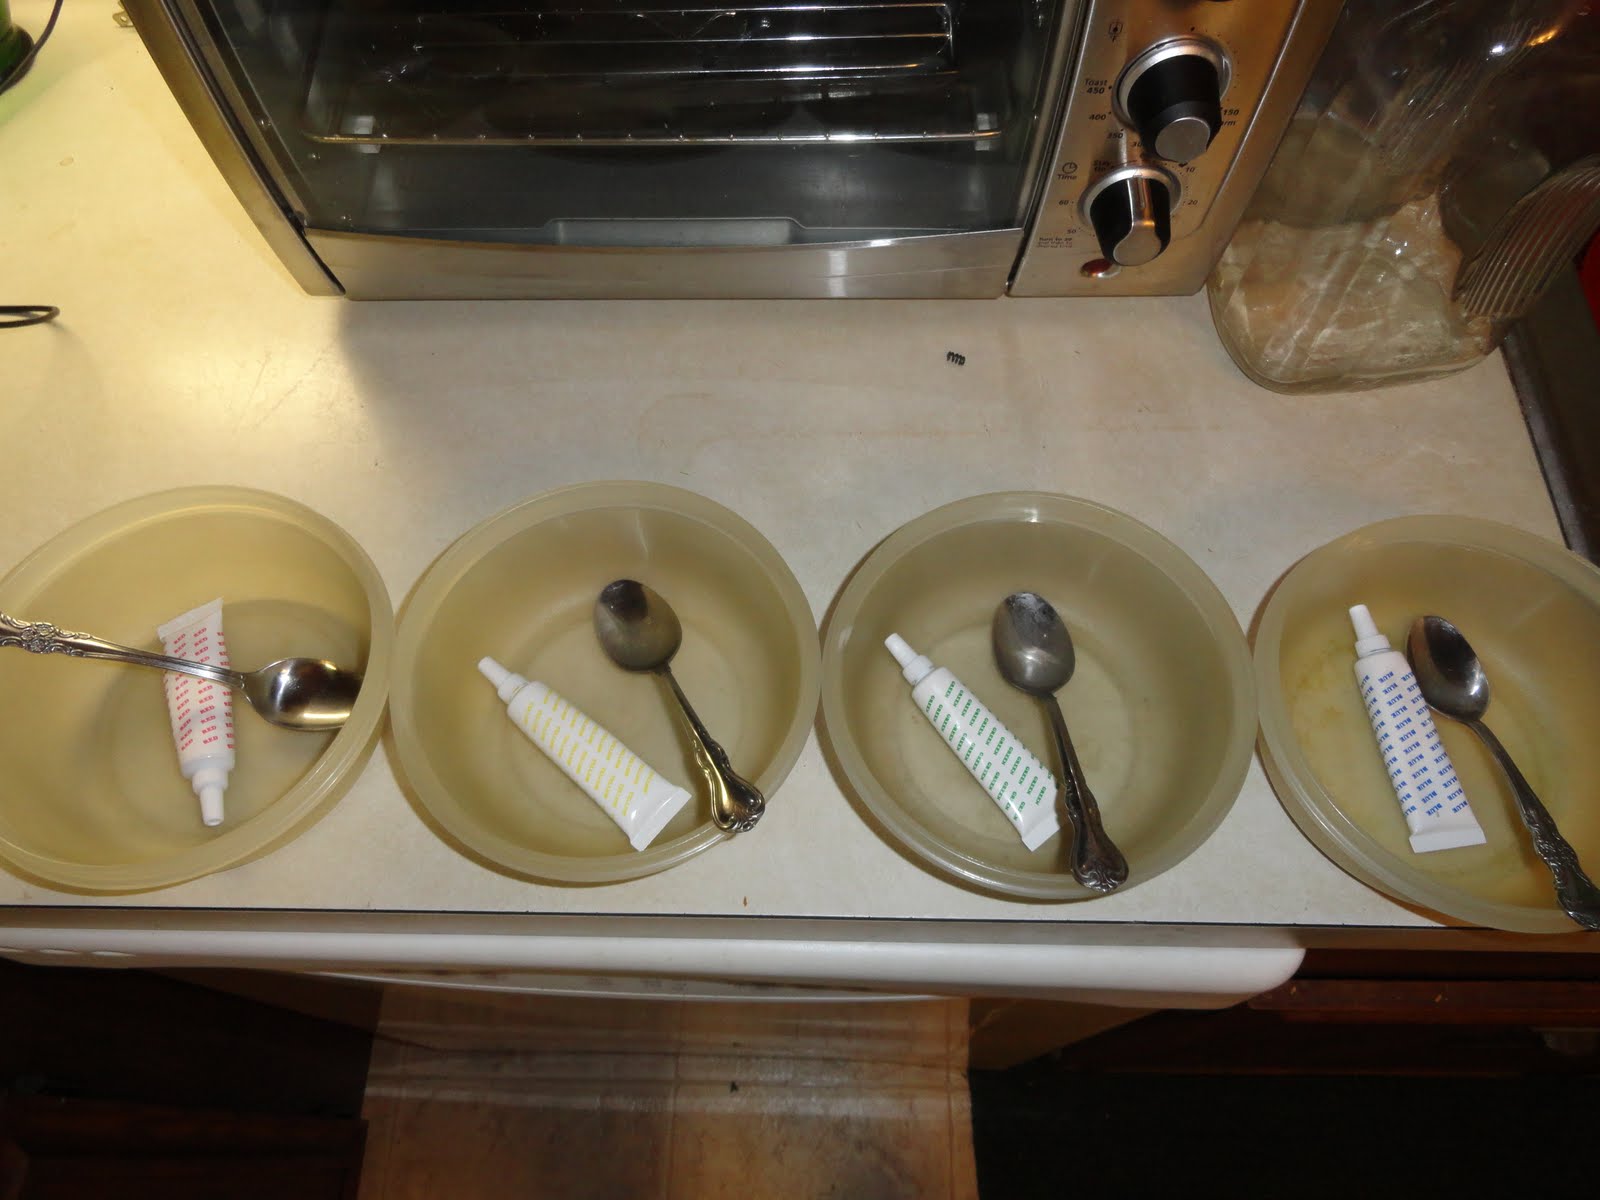
After the batter is mixed, I laid out my separate color mixing bowls.


I divided the batter up evenly into the four bowl and added the food coloring until the colors looked right. 


Look at these beautiful colors...


I started pouring - LITTLE BY LITTLE - the colored batter into the round pans. It is important to pour the next color right in the center of the previous color. It will not mix, and will spread out evenly.


Like this...


Until you see multiple colors like this... 


Next step: take your tooth pic and pull your colors around. I made a flower looking design. Don't pull the colors around too much because you will loose the colorful aspect and start making giant brown spots. 


The other cake looked like this... Before


Bake the cake as desired on box instructions. Easy, right? 


Now for the set up... Place the cake you want to be on bottom on the serving dish and generously layer the top of the round cake with icing. This will hold the cakes together.


Place the top round cake on top of the icing. 


Take the rest of the icing and separate it into four mixing bowls.


Add the food dye until you get the colors you desire.


Start experimenting and just throw the colors on the cake. That's what I did. Just make some blobs of color. 


Then when your cover the top and sides of the cake, take the back of your spoons and just lightly pull the colors together. Again, don't do this too much or it WILL turn brown.

My finished cake...


I'd like to say it was a hit, but I kinda just cut it up, placed it on the dessert table, and danced the night away in the rain with some of my favorite friends and family. You'd think having a dance outside in the rain would be crappy... but it was so refreshing and fun! Everyone came and told me the cake was awesome and really cool looking and that was all I needed to hear. I didn't make it for the taste, and Better Crocker is not one to mess with ;)... 

In all honesty, I had no time to head to the store and get ingredients for a home made cake. I had just came home Thursday from not being home all week and was leaving for the beach Friday afternoon and still needed to pack. It was going to take forever to decorate it, so I just made the cake and decorated it at the beach Saturday, a few hours before the dance.

Sorry most of this post is a lot of pictures and one liners. I really have nothing more to say and the pictures explained it all. Sorry this is so late. 

Enjoy! xo

August 4, 2011

Serafina Outside Dining!

This week I had the pleasure of staying a few days in Philadelphia for two reasons: Spend time with my boyfriend, and interview with PECO! And let me tell you, I was so excited/nervous for that interview. Since I arrived a day before the interview and wanted to clear my head before my "Interview Preparation" (as I say...), Matt and I went out to eat for dinner. We wanted to try this new restaurant that just opened up Serafina! (http://www.serafinarestaurant.com/serafina/)


We arrived there around 6 pm and there was seating available outside so we opted for that. It was a nice day.. not too breezy so hopefully we wouldn't choke on city dust. We had a pretty good view of the city from where we were sitting.

We started out with the Tartare Di Sofia (MENU: "A selection of the best tuna and salmon marinated in a special sauce, the Italian ways") as our appetizer. It was so fresh and tasty. The display was unique, though I didn't understand why they only gave us three pieces of toast. It wasn't symmetrical and that bugged me I guess. Regardless, it was very good.


 Matthew got the Grilled Steak & Fries, of course! His dish came with some grilled zucchini and a basket of french fries. French fries were pretty plain and not that special and his steak was not medium rare, but a little more well done. (I didn't get a picture of his because he "dug in" right away!)

I got the LE CRESPELLE DI SOFI (MENU: "Fresh spinach & ricotta crepes with tomato, Parmigiano & basil sauce"). I must say, I normally don't like to mix tomato sauces with spinach but it was really good. I couldn't stop eating it! I've never had pasta crepes before, but it was really enjoyable. Reminded me of Spinach & Ricotta Raviolis. The sauce was chunky (in a good way) and I could taste the herbs in every bite. I even showed my Italian side and cleaned my plate up with some leftover bread in the bread basket. Matt told me the french word for it during dinner as he made fun of me, but I can't remember it right now. :)


Overall, Serafina was very nice and the service was great. Our dinner (with one beer) was more than $50 dollars, which I think is a little over-priced, but I would return there.

Okay, that's all for me. Keep an eye out for my next blog early next week about my Tye-Dye Cake! The cake is all made, but I'm waiting for Saturday to do the Tye-Dye icing and put it all together! Hopefully it will be a hit at the Luau!

Enjoy! xo

July 18, 2011

Chocolate Chip Zucchini Cupcakes

This weekend was my White Crystal Beach family and friends graduation party for me. My mother already had food planned out, but we couldn't figure out what to made as dessert. It just so happened that my mom picked up a 5 lb zucchini from the beach last weekend so I wanted to made zucchini bread! We went to Maple Hoff 2 to pick up some sweets and we were talking about what to make with the zucchini and the lady at the counter told us about chocolate chip zucchini cookies. I wasn't really sure about cookies... but I'd love to make chocolate chip zucchini cupcakes. 

Chocolate Chip Zucchini Cupcakes with Cream Cheese Icing


Cupcakes (Makes 1 dozen)
1 1/2 cups all purpose flour
1/2 cup brown sugar
1/2 cup granulated sugar
2 tsp baking powder
1/4 tsp baking soda
1/2 tsp salt
1 tsp cinnamon
1/2 cup chocolate chips
2 zucchinis, shred (about 2 cups)
2 eggs, lightly beaten
1/3 cup oil
Cream Cheese Icing

First off, can you just look at the SIZE of this zucchini? I am amazed that I only have a little bit left after making two batches of this recipe!! 


Preheat the oven to 350 degrees. The first thing I did was cut it to manageable sizes and cut the skin off. If you want to use a peeler, be my guest, but it's easier to just run a knife down the sides.


Cut out the center seeds. I used the knife to get it out, but you can use a spoon. 


At this point you can either cut the zucchini in cubes and put it in the food processor like I did, or use the pieces like seen above and use a grater to cut it up. It would of taken me forever to grate that amount of zucchini, so I cheated. :)


Place zucchini, eggs, and oil in a large mixing bowl. 


Mix dry ingredients in another large mixing bowl.


Incorporate the chocolate chips.


 Slowly add dry ingredients to wet ingredients while mixing until completely incorporated.


Line pan with cupcake cups. Fill cups 7/8 of the way up.


Place cupcakes in oven and bake for about 30 minutes or until a toothpick inserted into the cakes comes out clean.


Now, I'll show you a quick and cheap trip to icing your cupcakes... Take a regular sandwich bag and line it in a cup. Fill the bag with icing.


 Pull the bag out and twist the top together.


Without squeezing the bag, cut the tips off of a corner.


Create your own way to decorate the cupcake. I swirl. :)


Everyone at the graduation party loved them. They were moist and tasty and comforting. It was a wonderful idea for the party.

Enjoy xo

July 13, 2011

Spinach Alfredo Pasta with Chicken Sausage

Today was one of those days where you just could not find anything to do. Too lazy to shower and go out, and bored of TV and the Internet. So on days like today... I cook. I figured it would be a nice thing for me to do because my dad had night-shift and my mom was going to be home late from work. I looked in the fridge and freezer for a few minutes and it just hit me what I wanted to make! Spinach Alfredo with Garden Rotini Pasta and Chicken Sausage filled with feta cheese and spinach. I figured it would pair nicely.


Spinach Alfredo Pasta with Chicken Sausage
(Feeds 3-4)

Ingredients:
- Chicken Sausage with Feta Cheese and Spinach
- 1 package Frozen Spinach
- About 3/4 of the package of Garden Rotini Pasta


Alfredo Sauce:
- 3 tbsp Margarine
- 1 cup Milk
- 1 tbsp Cream Cheese 
- 2 tsp Minced Garlic
- 1 tsp Parsley
- Salt & Pepper
- 3/4 cup Flour
- 1/2 cup Parmesan Cheese
- 1 tbsp Kraft Greek Vinaigrette 


Alfredo Sauce:The first thing I did was start the Alfredo sauce in a pan over med-high heat. I placed the margarine, minced garlic, parsley, salt & pepper in the pan and let the garlic and herbs melt/sauteed for a few minutes. 


I turned down the heat and put in the cream cheese and Kraft Greek Vinaigrette. Mix that around until the cream melts. Start adding the milk and flour slowly, while whisking it in. Don't worry if it's a little thick, the spinach water will thin it out later. Add the Parmesan Cheese and whisk in. 


Start on cooking the spinach, pasta, and sausage. 


Spinach:
Take the package of frozen spinach and heat it up with about a cup and a half of water. After you heat up the spinach, take about a cup of spinach water and whisk it into the Alfredo Sauce. Strain the spinach, then take about a cup and a half of Spinach and whisk it into the Alfredo Sauce. 


Pasta:
Cook pasta as package directs. Strain and place in pasta dish.


Chicken Sausage:
Coat the pan with cooking spray. Preheat your pan to medium high heat.
Cut the sausage into little 1/4" medallions. 


Place in pan until fully cooked. It took about 10 minutes for me because of how small. 


Now we combine!
Place pasta into serving dish. Add 1/2 of the Alfredo Sauce. Mix well.


Add Chicken Sausage. Add rest of Alfredo Sauce. Mix well and serve.


Overall, I really like it... but without the Chicken Sausage. Don't get me wrong, it was delicious, but I could just eat the Spinach Alfredo by itself without any meat.... just pasta!


Enjoy! xo